Manual setup
Manual connections over a local network or VPN
Set up Screen Sharing, connect a private VPN when away and troubleshoot manually added Macs.
When to use this guide
- You need Remoted on an iPhone or iPad running iOS or iPadOS 26.5 or later, and a Mac you own or have permission to control.
- Put both devices on the same trusted network for your first connection.
- Keep the Mac awake and online.
Use this path to add a Mac by address without Link, on a trusted local network or a VPN you manage. Remoted Link handles internet connections without a separate VPN; use the first-connection guide for that path.
1. Enable Screen Sharing on your Mac
When adding a Mac manually by network name or IP address, start here. Use a Mac account that is allowed to share the screen. Its username and password are separate from your Apple account. On a managed Mac, ask the administrator to configure access.
- Open System Settings → General → Sharing on the Mac.
- Enable Screen Sharing and open its information panel. If Remote Management is enabled, follow Apple’s instructions before changing services.
- Allow access for the Mac account you will use. Limit access to the users who need it.
- Note the Mac’s network name or local IP address for the connection.
Set up private VPN access
Your VPN must reach the network containing the Mac. Changing your public internet address alone does not provide that access. If your router or firewall supports a VPN server, follow its vendor’s instructions to create a client profile and permit access to the Mac’s network. For a work network, ask its administrator.
- Obtain the VPN client configuration, sign-in details and the Mac’s reachable private address from the network owner. Confirm that the VPN routes traffic to that address. Keep configuration files and QR codes private.
- On your iPhone or iPad, use the VPN’s official client app or a configuration profile supplied by the trusted network owner. Review the permissions before installing it. Profiles appear in Settings → General → VPN & Device Management; enter only the settings and credentials supplied for that VPN.
- Connect the VPN from cellular data or another external network, then add the Mac’s private address in Remoted. Keep the VPN connected during the session. Nearby discovery may not cross the VPN, so add the address manually if the Mac does not appear.
2. Add a manual connection in Remoted
Allow Remoted’s local network permission when prompted. Nearby discovery is useful on the same network; you can also add the computer manually.
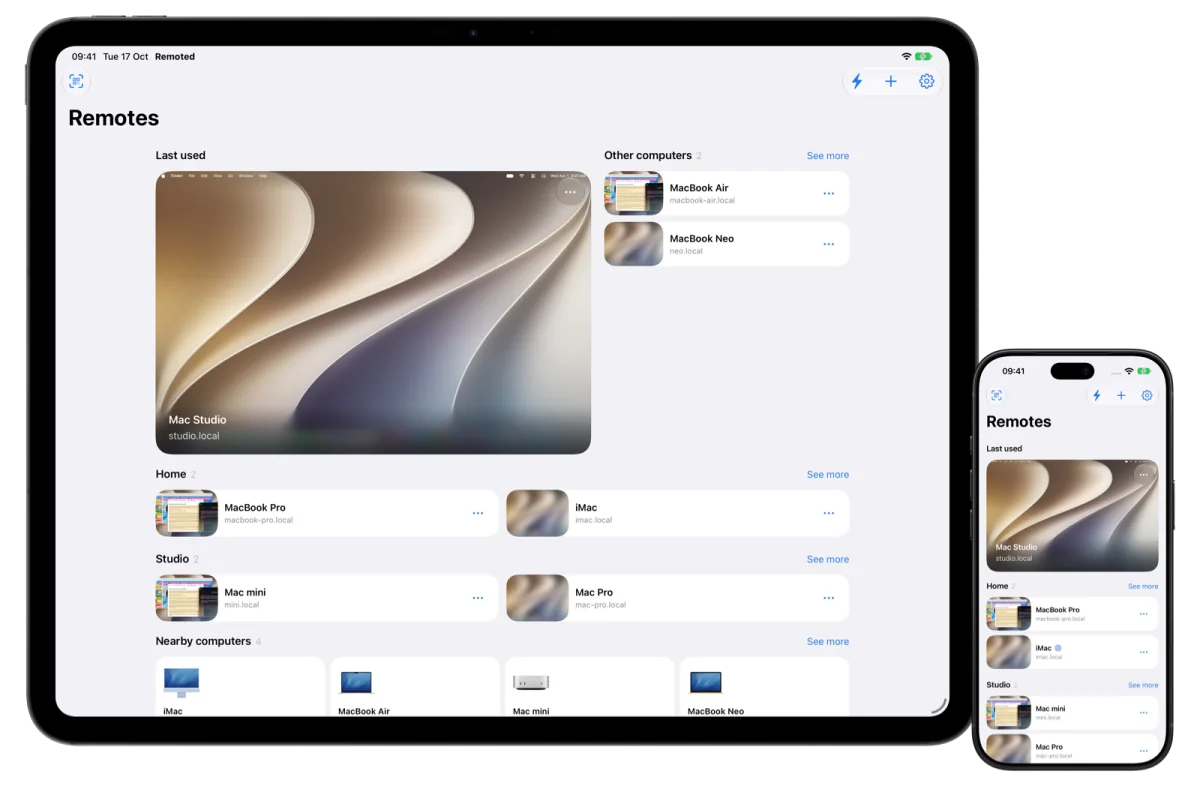
- Choose a nearby computer, add a computer using its network name or IP address, or use Quick Connect.
- Use the configured Screen Sharing port, normally 5900. Start with Standard mode.
- Enter the permitted Mac account’s username and password. Remembering credentials is optional; saved credentials stay in the Keychain on this device.
- Connect and choose the desktop you are allowed to use if the Mac offers a session choice.
If a manual connection fails
- Check that the Mac is awake, connected and running Screen Sharing.
- Confirm that the Mac account is permitted to share the screen and the password is correct.
- Try the Mac’s IP address and Standard mode. If you denied local network access, on your iPhone or iPad open Settings → Privacy & Security → Local Network and enable Remoted if it is listed.
- Guest Wi-Fi can isolate devices even when they use the same Wi-Fi name. Check the network and firewall settings with the administrator.
- If the VPN is connected but the Mac is unreachable, ask the network owner to check routes, access rules and conflicting local subnets. A connected VPN alone does not prove that it can reach the Mac.
For manually added Standard connections, desktop images are not encrypted after authentication and the host’s identity is not verified. Use computers and networks you trust, or a VPN you control. Remoted Link connections use authenticated, encrypted transport between approved devices. See the privacy policy for the protections and limits of each connection method.